

Last Updated on January 30, 2024 by Ibrahim Bat
Starting the day with a Moka pot is really enjoyable. I’m sure none of us dislikes the wonderful coffee smell spreading around with the hissing of steam.
However, for the Moka pot to continue to brew delicious coffee, maintain its performance, and be long-lasting, it must be cleaned regularly.
This article will guide you on how to clean your Moka pot on a daily basis, as well as provide instructions for deep cleaning and initial cleaning. If you have soap available, kindly set it aside and keep reading!
Related: Best Moka Pots of 2024, According to Expert Testing
Related: 10 Years with Moka Pot and Espresso Machine
Daily Care Of Moka Pot
You should clean your Moka pot after each brew. However, the cleaning that needs to be done at a daily level is quite simple and easy. You can do it quickly without spending too much time and effort.
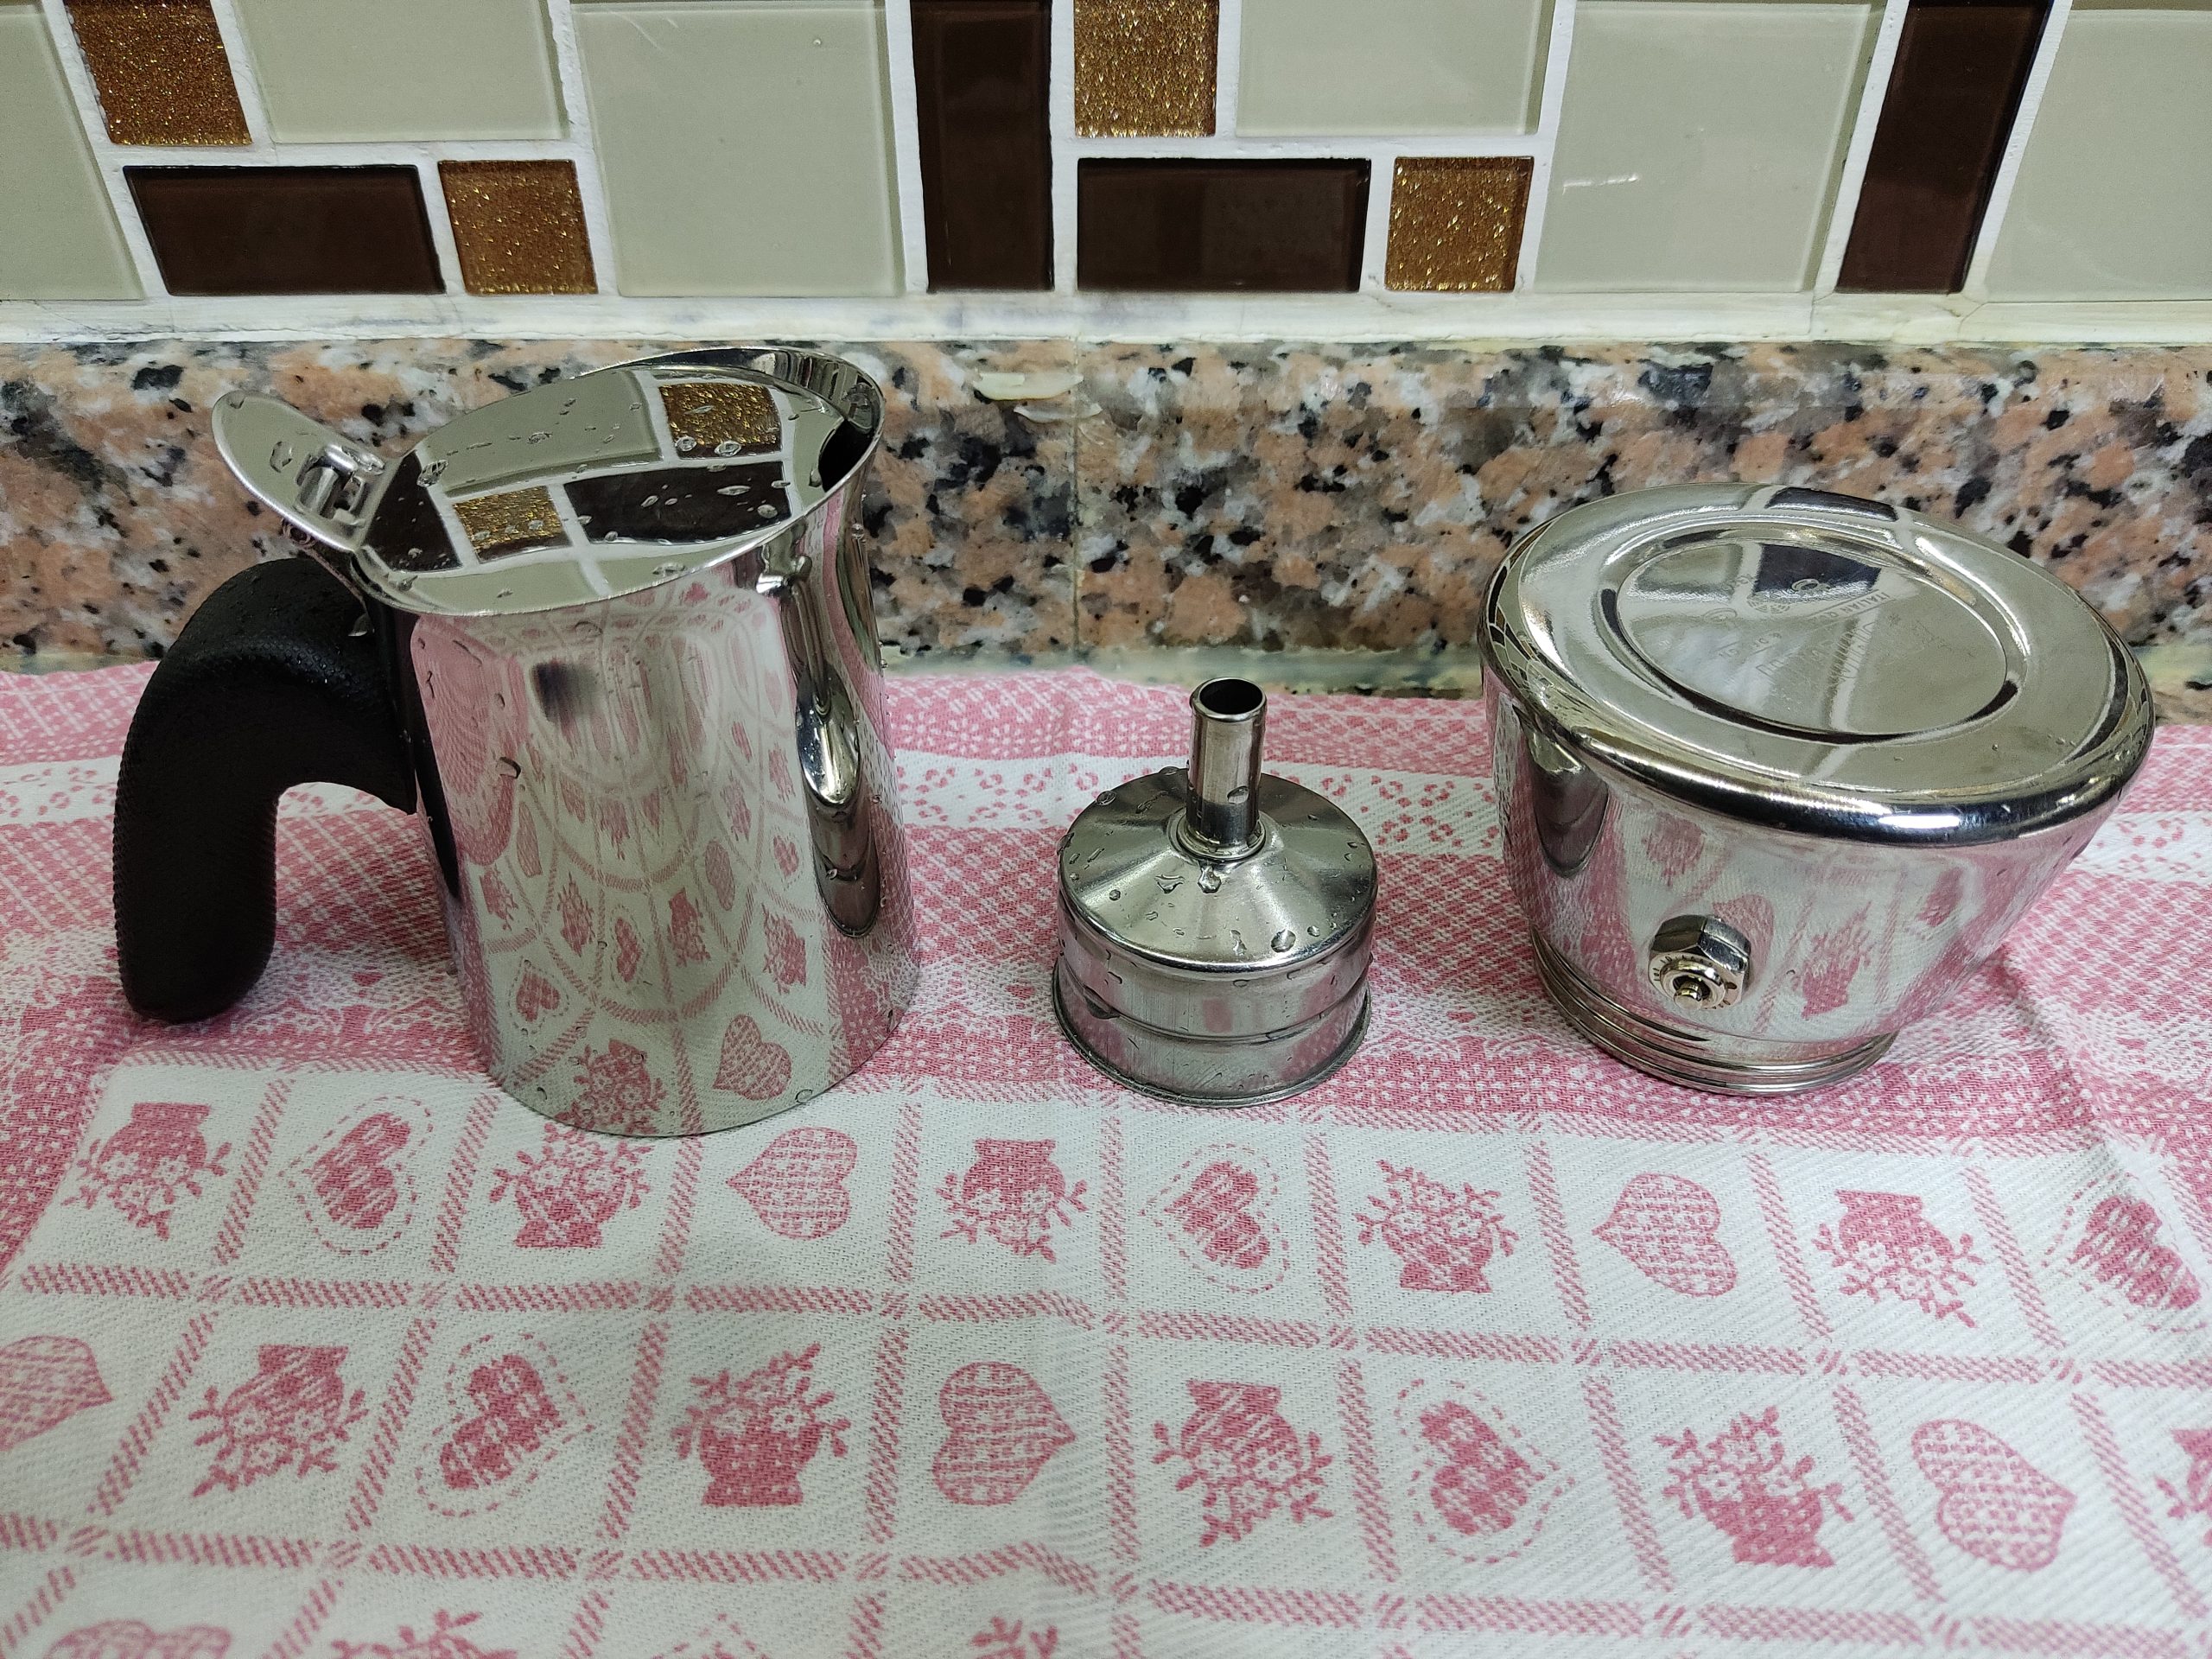
First, after brewing, let your Moka pot sit aside until it cools down to a temperature you can touch. Then separate the parts and dump the coffee grounds in the trash. Finally, rinse your Moka pot thoroughly with lukewarm water and dry it. That’s it!
Make sure your Moka pot is completely dry before reassembling the parts. Otherwise, the moisture left inside will cause various problems.
One of these problems is causing rust in aluminum Moka pots. The other problem is causing mold and a horrible smell in aluminum and stainless steel Moka pots.
Pro tips: Check if the gasket beneath the top chamber of your Moka pot is wet. There might be a significant amount of water trapped under the gasket.
When cleaning your Moka pot, do not use any soap or detergent. Do not scrub with anything other than a soft sponge. Otherwise, you could damage the coating of your Moka pot.
How to Deep Clean Your Moka Pot?
Apart from daily routine cleaning, you should deep clean your Moka pot at certain intervals. Depending on your usage, this frequency will vary. Generally, deep cleaning once a month will be sufficient for many people.
Step 1) Clean the Gasket
Remove the gasket located under the top chamber without damaging it with the help of a spoon. Rinse the gasket and metal filter with water and replace it.

Step 2) Fill the Bottom Chamber with Water
Fill the bottom chamber with water to a level that will not reach the safety valve. However, leave enough space for 1 tablespoon of vinegar or citric acid.
Step 3) Add Citric Acid or Vinegar
Add 1 tablespoon of citric acid or vinegar to the bottom chamber of your Moka pot and stir.
Step 4) Reassemble and Brew
Reassemble your Moka pot’s bottom chamber and brew without adding coffee grounds. In a sense, run the Moka pot empty.
Step 5) Rinse
Turn off the stove when the brewing is finished, i.e., when the mixture in the bottom chamber has poured into the top chamber. Wait until the Moka pot cools down. Then rinse the Moka pot thoroughly with running water.
Pro tips: To ensure that all citric acid or vinegar residues are gone, you can do one more brew using only water.
How to Descale Moka Pot?
Cleaning the Moka pot is important, but if the water you use is prone to create limescale, it’s even more important to monitor limescale accumulation and clean it when necessary.
In water, especially in hard water, elements like calcium and magnesium crystallize as the water heats up. As a result, a layer of limescale accumulates in your Moka pot.
If the accumulated limescale layer covers the safety valve, it can prevent it from working. This could result in your Moka pot exploding. Therefore, you should monitor limescale accumulation in your Moka pot and clean the limescale when necessary.
You can use bottled or filtered water instead of tap water to reduce limescale accumulation. I use a water purifier at home, and I don’t remember the last time I saw a layer of limescale in my kettle or Moka pot.
However, if you have a Moka pot with limescale at the bottom, cleaning it is quite easy. It takes a little time but doesn’t require much effort.
Now let’s move on to how to dissolve the limescale accumulated in your Moka pot in 5 steps.
Step 1) Add White Vinegar and Lemon Juice
Add 1 tablespoon of white vinegar and 2 tablespoons of lemon juice to the bottom chamber of your Moka pot.
Step 2) Fill the Chamber With Water
Fill the bottom chamber halfway with water and stir the mixture quickly. Then add more water to the chamber up to the overflow line.
Step 3) Wait
Wait 2-3 hours for the limescale residues to soften and peel off.
Step 4) Brew
Pour some mixtures into the bottom chamber until the amount falls below the safety valve. Then reassemble the Moka pot and brew without adding coffee grounds.
Step 5) Rinse
When the brewing is complete, rinse the Moka pot thoroughly with running water and dry.
How to Clean New Moka Pot?
The most effective way to get newly purchased coffee equipment ready is to make a few brews you won’t drink. I know it’s a bit sad to use coffee beans wastefully ☹.
If you forgot to use coffee and it has gone stale, now is the perfect time to use it. Let’s look at how to get your new Moka pot ready.
Step 1) Brew With Water
Fill the bottom chamber of the Moka pot with water to a level that does not exceed the safety valve. Assemble the parts and place them on the stove without adding coffee grounds. In short, make a brew using only water.
Step 2) Brew With Coffee
After brewing with water, make 3 more brews using coffee grounds.
Now your Moka pot is ready to brew your first coffee. If you don’t know how to brew or if you want to learn all the details of brewing coffee in a Moka pot:
Conclusion for Moka Pot Cleaning
Brewing and drinking coffee is quite enjoyable. But I can’t say the same for cleaning from my perspective. However, cleaning is very important for a sparkling Moka pot and a delicious cup of coffee.
On the other hand, to prevent your Moka pot from turning into a time bomb, you should regularly dissolve the limescale. Generally speaking, descaling and other cleaning requirements are not too demanding. They are all worth doing for that perfect cup of coffee.