

Last Updated on January 29, 2024 by Ibrahim Bat
The Aeropress is a coffee maker introduced in 2005, so it can be considered relatively new. Its quick coffee preparation and the minimal mess it leaves to clean up afterward make it very practical.
In this article from Bestcoffeeathome.com, I will explain step by step how you can brew coffee with an Aeropress. I will also provide some tips to help you personalize the recipe.
Thus, you will learn a great starting point for brewing coffee in an Aeropress, and by using the tips, you will be able to create your own ultimate Aeropress recipe.
What You Need for Homemade Aeropress Coffee?
- Hot water
- Coffee beans
- Aeropress
- Aeropress paper filter
- Grinder
- Scale (optional)
- Thermometer (optional)

Step-by-Step Instructions for Brewing Coffee With Aeropress
The brewing technique used in the Aeropress is somewhat of a mix between an espresso maker, a drip coffee maker, and a French press. It borrows elements from all three brewing methods.
I recommend applying the recipe I am about to give only after reading it from start to finish. This way, you’ll gain more control over your Aeropress.
Step 1) Grind Your Coffee Beans
The ideal coffee-to-water ratio for Aeropress is 1:16. You should use 16 grams of water for each unit of coffee grounds.
However, there is a limit to the Aeropress. It is more suitable for a single serve. Therefore, using 15 grams of coffee beans would be a good option.
Weigh and grind 15 grams of coffee beans. If you don’t have a scale, you can use the scoop that comes with your Aeropress. It holds approximately 15 grams of coffee when filled.
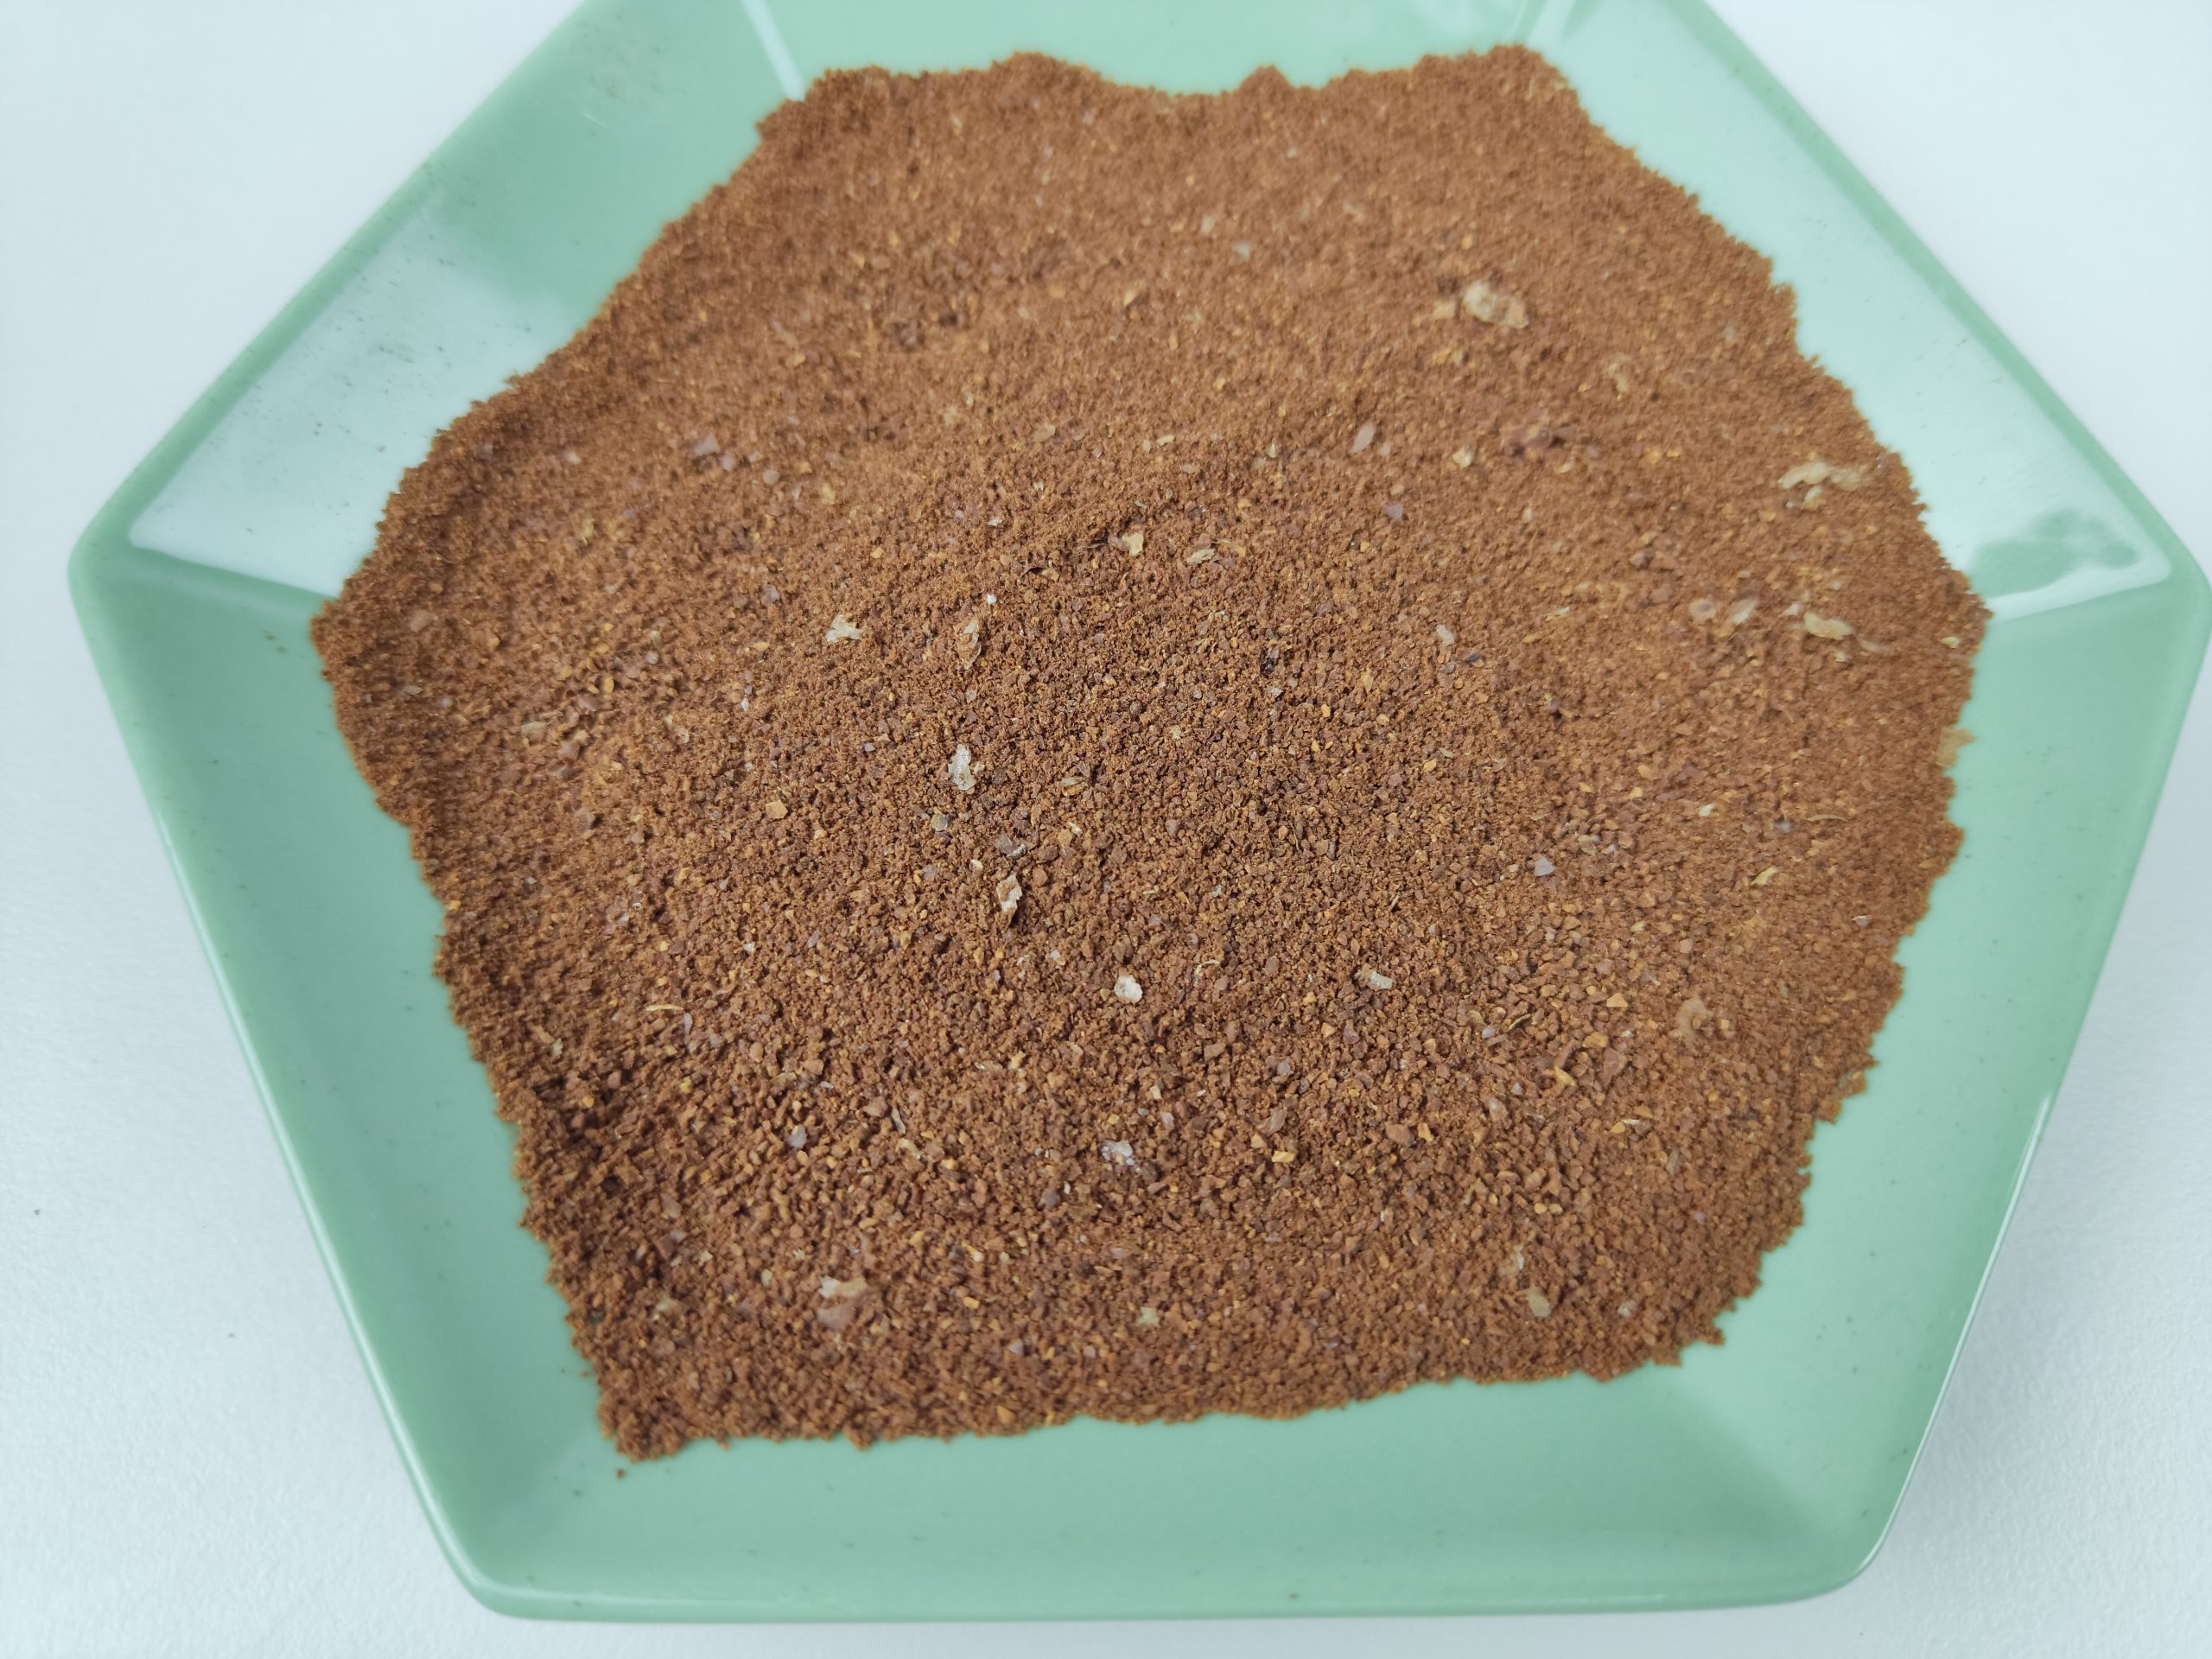
The ideal grind size for Aeropress is medium-fine. This grind size is between that used for espresso and drip coffee. I am aware that this range is quite wide.
This is one reason why the Aeropress is so customizable. It gives you a wide range of brewing. Experimenting with the grind size lets you find what suits your palate best.
You can start with a grind as coarse as table salt. Later, you can increase or decrease the grind size according to your palate and your recipe.
Step 2) Heat the Water
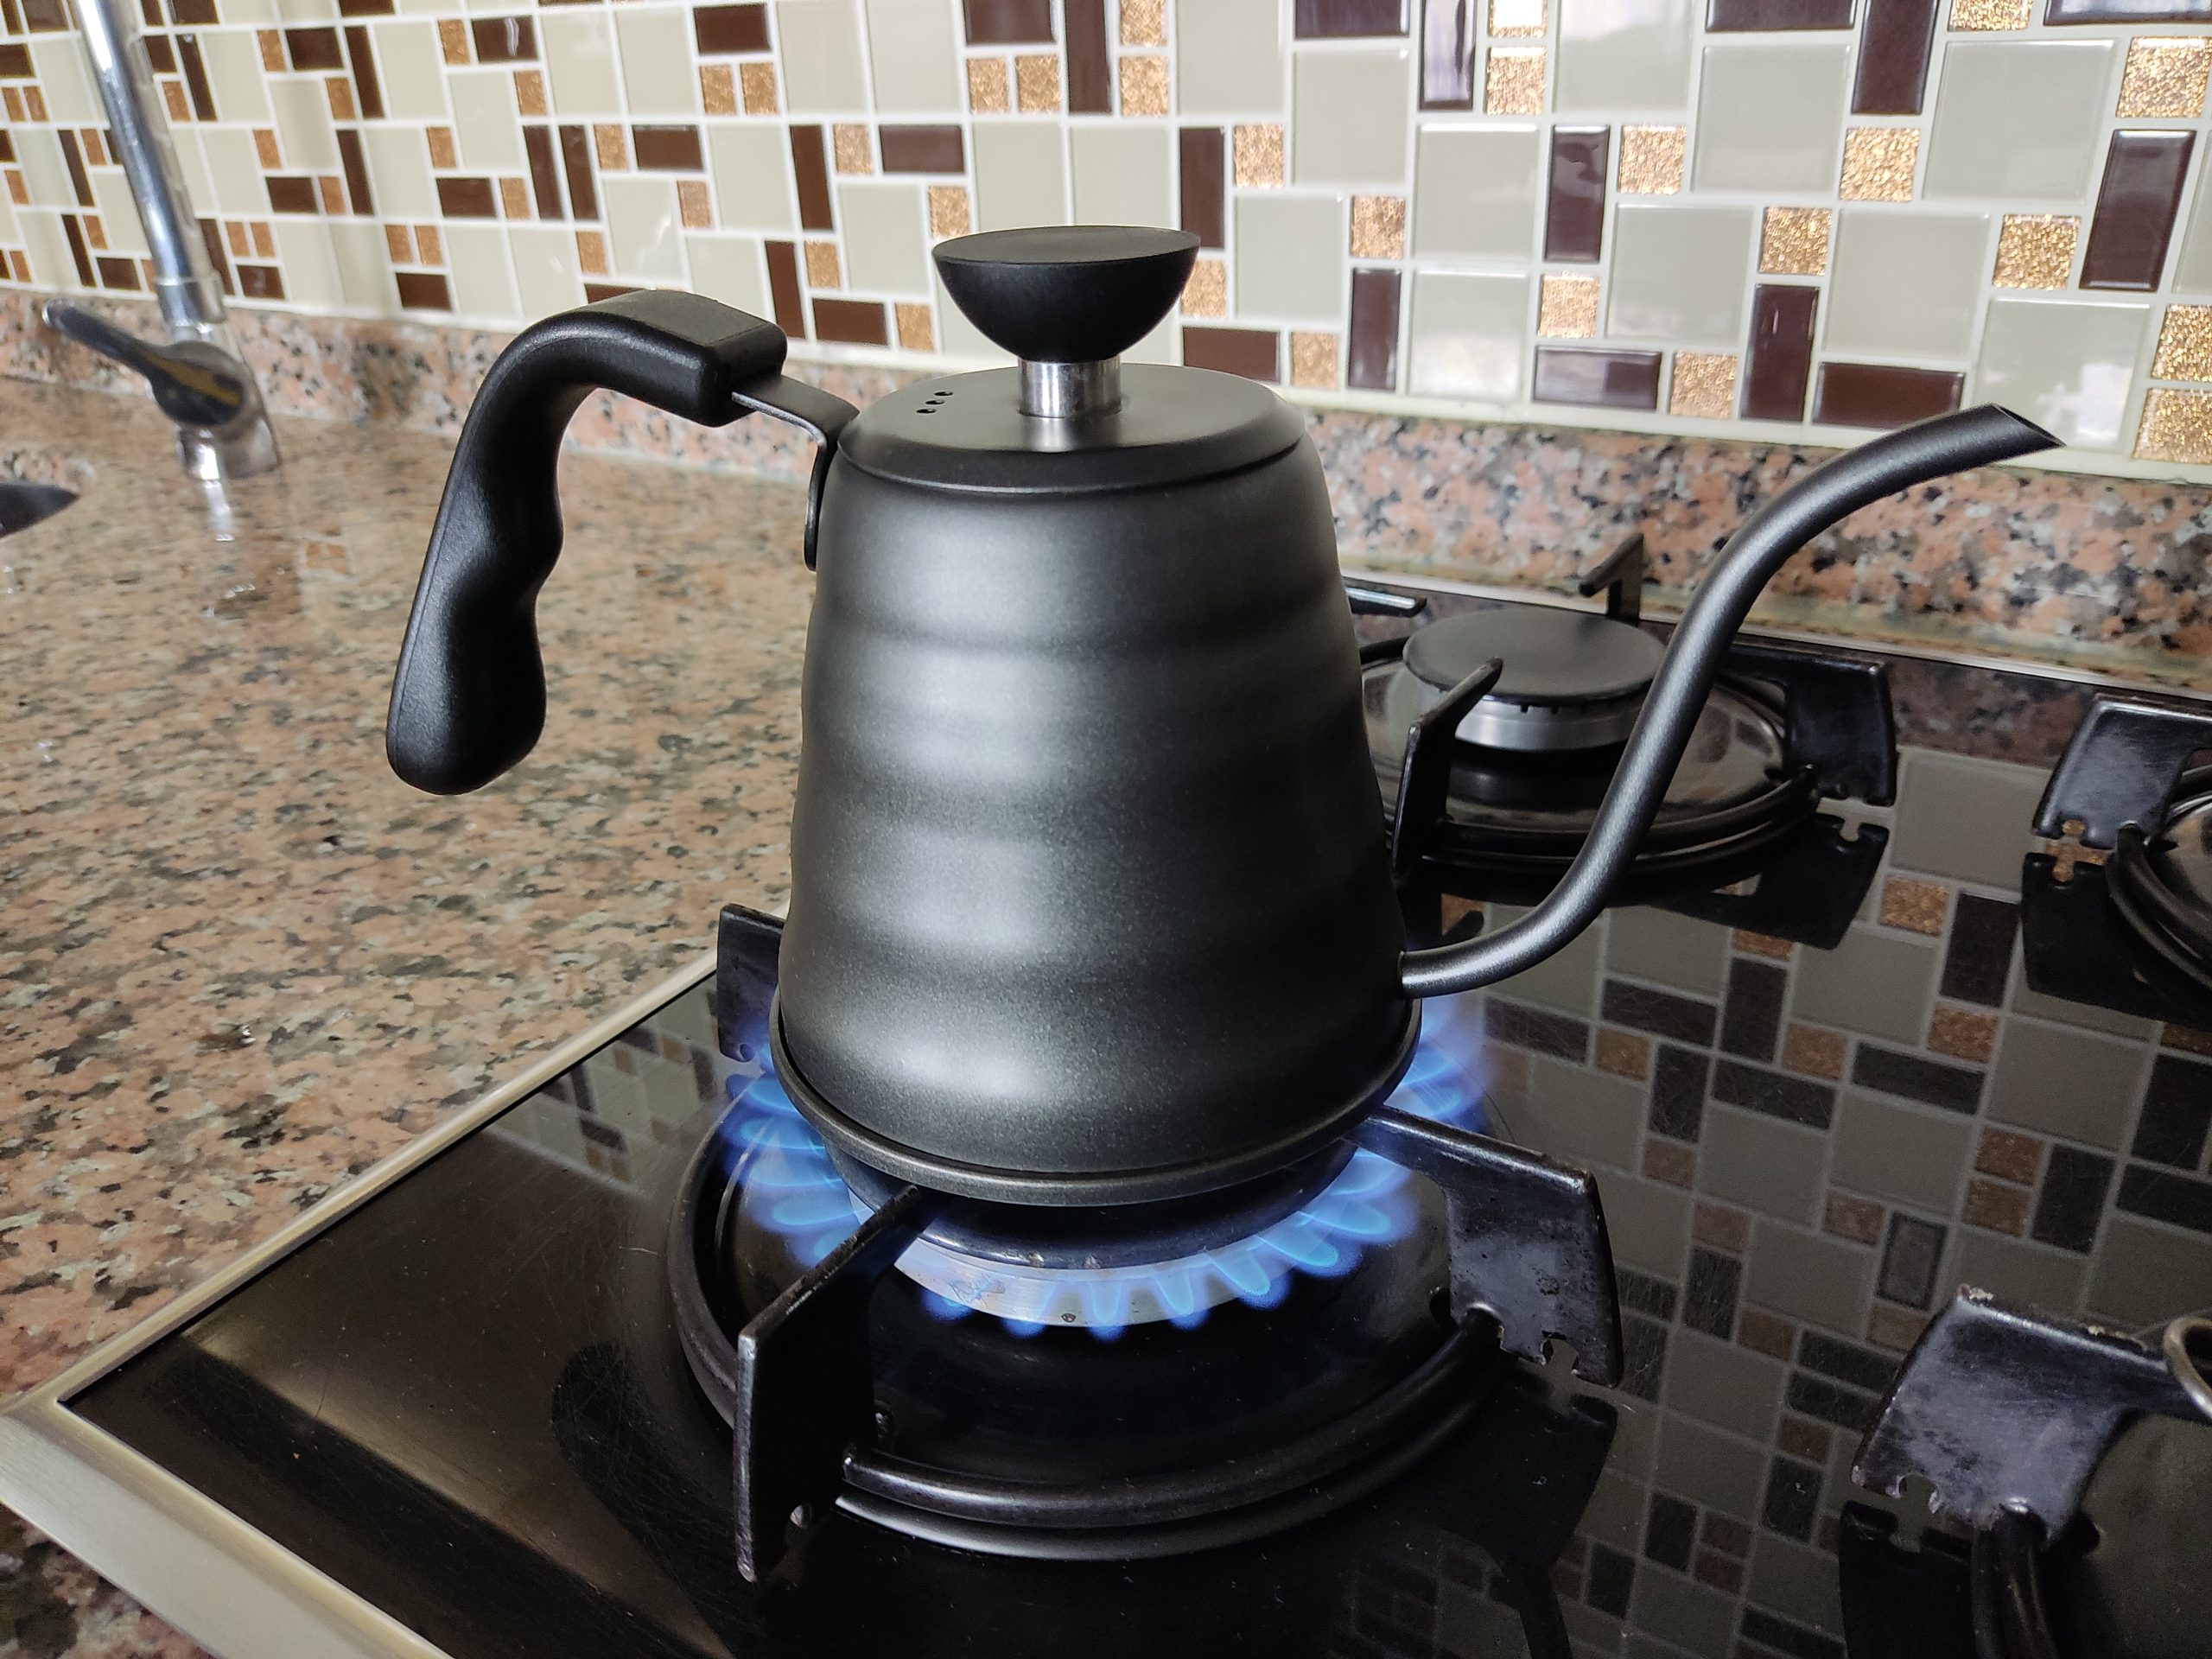
You should use 240 ml (8 oz) of water for 15 grams of coffee. Heat your water considering this amount. Aim for 200 °F (93.5 °C) if you have a thermometer.
Alan Adler, the inventor of the Aeropress, recommends 175 °F (80 °C). However, this temperature is considered low by many baristas. You can try it, but it will result in a weaker brew.
In my brews, I get the best results at 200 °F (93.5 °C), as the Specialty Coffee Association (SCA) recommended.
If you don’t have a thermometer or don’t want this much fuss, boil the water and turn off the heat source. Then let the water rest for 1.5-2 minutes. This way, you will achieve the ideal temperature for brewing.
Step 3) Prepare the Aeropress for Brewing
To start brewing:
- Pull the plunger to separate it from the chamber.
- Rinse the chamber of the Aeropress with hot water.
- Put the filter in the filter cap and twist the filter cap onto the chamber.
Don’t forget to rinse your mug with hot water as well. This way, you will get a hotter cup of coffee.
Rinsing the paper filter is essential for Chemex and Hario V60 because it can affect the taste if the paper filter is not rinsed. However, the paper filter of the Aeropress is quite small, so even if you don’t rinse it, you probably won’t notice its taste in your coffee.
To compare, here are the approximate weights of the Chemex, Hario V60, and Aeropress paper filters:
- Chemex: 4.5 g
- Hario V60: 1.5 g
- Aeropress: 0.1 g
As you can see, the paper filter of the Aeropress is 15 times smaller than that of the Hario V60 and 45 times smaller than that of the Chemex. Therefore, rinsing it is not necessary. However, if you wish, you can rinse the paper filter. This will add an extra step to your brewing process.

Step 4) Add Coffee Grounds
Position the Aeropress on top of your mug and ensure it is seated properly. Then add the coffee grounds. Then gently shake the Aeropress to level the coffee grounds.
You can use the funnel with your Aeropress to prevent your coffee grounds from spilling.

Step 5) Pour in the Water
Pour enough water to reach the number 4 on the Aeropress in one go.
Aim for 240 ml (8 oz) of water if you’re using a scale. This way, you’ll get a consistent result with every brew.

Step 6) Stir and Wait
Use the paddle that comes with your Aeropress to stir the mixture for 10 seconds gently. This paddle is designed not to reach the paper filter at the bottom, so you won’t accidentally pierce the paper filter.
After stirring, insert the plunger about ½ inch (about 1 cm) into the chamber. Then straighten the plunger and pull it slightly outwards. This will create a vacuum effect and prevent leakage from the bottom.
Finally, wait 2 minutes for the brew.


Step 7) Press it Down and Serve
Gently and steadily press down the plunger. Don’t put too much pressure on the plunger. It’s normal to feel some resistance. However, if you feel too much pressure that prevents you from pressing, use a coarser grind next time.
Continue pressing until you hear a hissing sound. This sound signals that the water inside is gone, and your coffee is now ready. Enjoy your coffee!
Note: If you are using a scale, remove the Aeropress from the scale before pressing. Pressing on the scale could throw off its calibration.


How to Clean Aeropress?
Remove the filter cap of the Aeropress. Then push the plunger until the coffee grounds come out. Finally, rinse and dry with water.

Conclusion
When you want to prepare a quick-filter coffee, Aeropress is a great alternative. You can improve on the recipe or try the recipes of world champions.
However, before trying the recipes of world champions, there is another method you need to learn about brewing coffee with Aeropress:
- The inverted method.
After learning the inverted method in Aeropress and its differences from this recipe, you can easily try the Aeropress recipes of the winners of the World Aeropress Championship at home.
These recipes generally use a higher coffee-water ratio (approximately 1:11). Some champions even use a higher ratio than this and then dilute with hot water.
I can’t say that I use the recipes of Aeropress Champions for my daily coffee consumption. However, you can check out the recipes if you want to try them.
Related Recipes

How to Use Aeropress: Step by Step Guide

Equipment
- 1 Coffee Grinder
- 1 Scale (optional)
- 1 Thermometer (optional)
Ingredients
- 15 gr Coffee Beans
- 240 ml Hot Water
Instructions
- Grind Your Coffee BeansThe ideal coffee-to-water ratio for Aeropress is 1:16. You should use 16 grams of water for each unit of coffee grounds.However, there is a limit to the Aeropress. It is more suitable for a single serve. Therefore, using 15 grams of coffee beans would be a good option.Weigh and grind 15 grams of coffee beans. If you don’t have a scale, you can use the scoop that comes with your Aeropress. It holds approximately 15 grams of coffee when filled. The ideal grind size for Aeropress is medium-fine. This grind size is between that used for espresso and drip coffee. I am aware that this range is quite wide.This is one reason why the Aeropress is so customizable. It gives you a wide range of brewing. Experimenting with the grind size lets you find what suits your palate best.You can start with a grind as coarse as table salt. Later, you can increase or decrease the grind size according to your palate and your recipe.
- Heat the WaterYou should use 240 ml (8 oz) of water for 15 grams of coffee. Heat your water considering this amount. Aim for 200 °F (93.5 °C) if you have a thermometer.Alan Adler, the inventor of the Aeropress, recommends 175 °F (80 °C). However, this temperature is considered low by many baristas. You can try it, but it will result in a weaker brew.In my brews, I get the best results at 200 °F (93.5 °C), as the Specialty Coffee Association (SCA) recommended.If you don’t have a thermometer or don’t want this much fuss, boil the water and turn off the heat source. Then let the water rest for 1.5-2 minutes. This way, you will achieve the ideal temperature for brewing.
- Prepare the Aeropress for BrewingTo start brewing:Don’t forget to rinse your mug with hot water as well. This way, you will get a hotter cup of coffee.Rinsing the paper filter is essential for Chemex and Hario V60 because it can affect the taste if the paper filter is not rinsed. However, the paper filter of the Aeropress is quite small, so even if you don’t rinse it, you probably won’t notice its taste in your coffee.Pull the plunger to separate it from the chamber. Rinse the chamber of the Aeropress with hot water. Put the filter in the filter cap and twist the filter cap onto the chamber.
- Add Coffee GroundsPosition the Aeropress on top of your mug and ensure it is seated properly. Then add the coffee grounds. Then gently shake the Aeropress to level the coffee grounds.You can use the funnel with your Aeropress to prevent your coffee grounds from spilling.
- Pour in the WaterPour enough water to reach the number 4 on the Aeropress in one go.Aim for 240 ml (8 oz) of water if you’re using a scale. This way, you’ll get a consistent result with every brew.
- Stir and WaitUse the paddle that comes with your Aeropress to stir the mixture for 10 seconds gently. This paddle is designed not to reach the paper filter at the bottom, so you won’t accidentally pierce the paper filter.After stirring, insert the plunger about ½ inch (about 1 cm) into the chamber. Then straighten the plunger and pull it slightly outwards. This will create a vacuum effect and prevent leakage from the bottom. Finally, wait 2 minutes for the brew.
- Press it Down and ServeGently and steadily press down the plunger. Don’t put too much pressure on the plunger. It’s normal to feel some resistance. However, if you feel too much pressure that prevents you from pressing, use a coarser grind next time.Continue pressing until you hear a hissing sound. This sound signals that the water inside is gone, and your coffee is now ready. Enjoy your coffee!Note: If you are using a scale, remove the Aeropress from the scale before pressing. Pressing on the scale could throw off its calibration.